Do you feel a bit uncomfortable about replacing an old toilet? We get it. But as long as you have the muscle to lift a toilet (they’re not as heavy as you may think), you can install a toilet on your own!
Whether replacing an old toilet during a renovation or putting in a new one, you’ll save time and effort by following these guidelines.
Removal Of The Old Toilet
Here is a guideline on removing it.
Shut off the water supply by twisting the valve that is usually mounted on the wall or floor next to the toilet you intend to remove.
It would help if you flushed the toilet to get rid of the water in the bowl. Then, if there is still water, use a plunger to remove it. With an adjustable wrench, disconnect the supply line.
Separate the tank by removing its bolts using an adjustable wrench. Lift the tank off the bowl.
Finally, raise the base bolt covers and use pliers or an adjustable wrench to extract the base Bolts.
Pull up the toilet base to remove it. Keep it upright to avoid spilling water when moving it. Keep sponges or clothes handy.
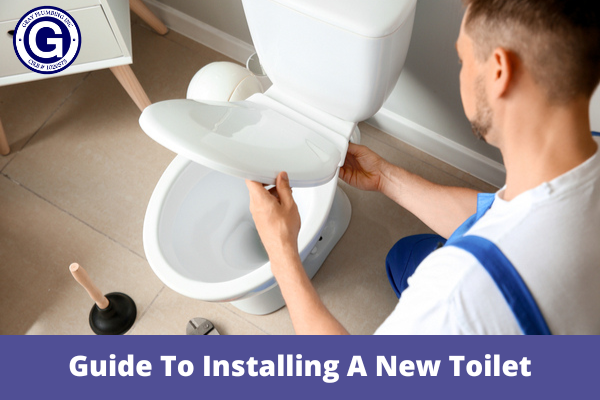
Here Is The Step-By-Step Guide To Installing A New Toilet
Step 1: Seal The Hole
If you don’t want sewage gas to seep into your home, plug the hole with a cloth. You’ll need to take it out before you can set up the new toilet.
Step 2: Take Off Your Old Wax Ring
Utilize a putty knife to cut away the worn-out wax ring. It’s filthy, so please protect your hands.
Step 3: Check The Flange
Examine the flange, the one that connects the toilet to the floor. If it’s good-looking and not cracked, use that. BUT if not, replace the old bolts with the new ones that came with your new toilet.
Cracked flange? If so, don’t worry. Flange repair rings are available. Make sure it fits your floor flange.
Step 4: Put On A New Wax Ring
Install your wax ring. Utilized a thick wax ring for cement tile, flipped the toilet bowl, and affixed the wax ring to the bottom. This is preferable to placing the wax ring on the floor before lowering the bowl since you can be sure it’s in the right spot.
Step 5: Install The Bowl Onto The Flange
It’s time! Now you can install the toilet bowl. Align bolt holes with flange bolts. Press to seal it. Move or tilt the toilet carefully to avoid leaking wax seals.
Step 6: Secure The Bowl
Tighten washers and nuts on each toilet bowl bolt. Overtightening can break the porcelain. Hacksaw off the excess bolt.
Step 7: Attach The Tank
You can attach the tank if your toilet isn’t one part (many aren’t). Align tank bolts with bowl holes and lower tank. Bolt it down.
Step 8: Connect The Water Supply Line
Reattach the water supply line. After that, fill the tank slowly to test for leaks.
Step 9: Shim And Caulk The Toilet’s Base
If your toilet shakes, shim and caulk it. If your toilet is solid and still, you’re in good condition.
If you don’t have the necessary skills, getting some help is preferable. Let a professional handle the toilet installation to avoid problems like water leaks, mold development, or pipes that don’t meet building requirements. So, let Gray Plumbing handle all of that. We get things done as swiftly and effectively as possible. Contact us now!