Clogged drains are a typical household annoyance that can disturb and bother your everyday activities. Understanding the causes of clogged drains and how to resolve them is critical for keeping a plumbing system in working order. In this blog, we’ll look at the most common causes of clogged drain, as well as effective techniques to clear them and practical recommendations for avoiding future blockages. By understanding these concerns, you can take preventative measures to keep your drains flowing freely and avoid potential plumbing problems.

What Are The Common Causes Of Blocked Drains?
A variety of causes might contribute to clogged drains. Understanding these typical causes is essential for determining the source of the blockage and applying relevant solutions. Here are a few examples of common offenders:
Hair Accumulation
Hair is indeed a major cause of clogged drains, particularly in bathroom sinks, showers, and tubs. Hair can become tangled and mingle with soap residue in the drain, causing tenacious blockages that obstruct water flow.
Soap Scum and Residue
Over time, soap scum and residue can accumulate in drains, particularly bathroom sinks and showers. When combined with other particles like hair and dirt, this buildup can cause obstructions.
Food Waste
Kitchen sink drains can actually become clogged due to poor food waste disposal. Grease, cooking oil, coffee grounds, and fibrous items such as potato peels or fruit rinds can build up in the pipes and restrict water flow.
Toilet Paper And Hygiene Items
Using too much toilet paper or non-flushable hygiene items, such as wipes or sanitary products, can cause toilet and sewer line blockages. These objects are difficult to degrade and can cause substantial clogs in the plumbing system.
Tree Root Infiltration
Tree roots seeking moisture and nutrients can infiltrate sewer lines and drainpipes in outdoor plumbing systems. These roots can create blockages and pipe damage over time if left untreated.
How Can I Best Clear Out A Clogged Drain?
When dealing with a clogged drain, there are various practical solutions you can attempt before contacting a professional. The severity and location of the obstruction determine the best way to unclog a drain. Here are some typical approaches:
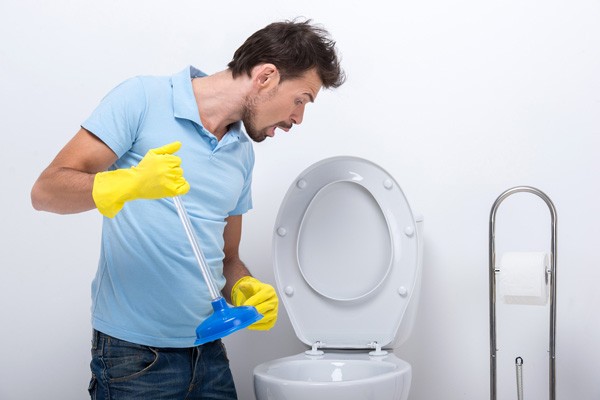
Plunger
For cleaning minor obstructions in sinks, toilets, and shower drains, a plunger can be a helpful tool. Seal the drain opening and plunge vigorously to create suction and dislodge the obstruction. If required, repeat the process numerous times.
Drain Snake Or Auger
A flexible tool is placed into a drain to break apart or extract clogs. Push the snake into the drain while rotating it, and when you encounter resistance, twist or wriggle it to release the clog. Retract the snake slowly, removing any debris.
Baking Soda and Vinegar
This natural cure can aid in removing minor obstructions and eliminating undesirable odors. Pour boiling water into the drain first to dislodge any debris. Then, pour baking soda into the drain, followed by vinegar. After a few minutes of frothing, you can flush the system with hot water.
Chemical Drain Cleaners
Chemical drain cleaners can clear out more persistent blockages, but they must be used cautiously and by the manufacturer’s recommendations. Strong chemicals in these products can dissolve or break down the clog. However, they may cause pipe damage over time and should be handled cautiously.
Professional Help
If you have severe or persistent blockages, or if do-it-yourself solutions don’t work, a plumber should be called in. They have the skills and specialized equipment to safely and effectively locate and resolve complicated blockages.
How Do You Prevent Clogged Drains?
Preventative maintenance is essential for the continued good health of drains. A few simple behaviors and preventative measures can greatly reduce the risk of clogs occurring. Here are some helpful hints for avoiding clogged drains:
Install Drain Screens or Strainers: Installing drain screens or filters in sinks, showers, and tubs can trap hair, food particles, and other material before it enters the drain. Clean these screens regularly to eliminate accumulated material.
Properly Dispose of Food Trash: Avoid throwing food trash into the kitchen sink. Scrape plates and kitchenware into the trash or compost bin, and use sink strainers to collect any small food particles that may enter the drain accidentally.
Don’t Pour Grease & Oil Down the Drain: Grease and cooking oil can solidify and cause clogs. Rather than throwing them down the drain, collect grease in a heat-resistant container and throw it away.
Clean Drains Regularly: Clean your drains regularly by pouring boiling water down them to melt away any collected residue. For kitchen drains, pour a baking soda and vinegar solution down the drain, followed by hot water.
Use Caution When Flushing: Only flush toilet paper and human waste. Non-flushable objects such as wipes, sanitary products, dental floss, or cotton swabs should not be flushed because they might cause clogs.
Trim Tree Roots: If you have trees near your sewer lines or drainpipes, you must maintain them regularly. Consult a professional arborist to trim or remove tree roots that could clog your plumbing system.
Schedule Regular Plumbing Inspections and Maintenance: Schedule regular plumbing inspections and maintenance with a professional plumber. They can detect possible problems before they cause serious obstructions or damage.
Conclusion
Clogged drains can disrupt daily routines and annoy you, but you can keep your drains flowing smoothly by recognizing the common reasons, employing efficient unclogging methods, and taking preventive steps. Remember to be cautious of what goes down the drain, repair your plumbing system regularly, and get professional assistance when necessary. You can maintain a functional and trouble-free plumbing system by proactively preventing and handling clogged drains.
If you encounter persistent or severe drain clogs that you cannot resolve alone, it’s time to seek professional assistance. Gray Plumbing is here to help with all your plumbing needs. Our experienced team of plumbers can diagnose and fix any drain issues, ensuring the smooth operation of your plumbing system. We offer comprehensive drain cleaning services to tackle even the toughest clogs. Our experienced plumbers use advanced techniques and equipment to clear your drains and restore proper flow. Call now!