Garbage disposal are a great way to help homeowners like you keep kitchen wastes from going into landfills. Food scraps and other types of trash can be put into the disposer to help grind up the garbage and convert it into a much smaller size, so they can then easily pass through your kitchen’s drain system. While garbage disposals are great for helping you manage food waste, they should be installed by professional Napa plumbersto ensure they will last a long time and not damage your home or plumbing.
However, if you want to save money and do it yourself, installing garbage disposal is one of the simplest jobs you can accomplish naturally. There are some basic procedures that need to be done right to ensure it functions as it should. We at Gray Plumbingprovide you with these steps for your Napa garbage disposal installation.
Step One: Dismantle the Existing Drain
Turn off the sink’s water supply. If you already have an outlet to power the disposal, you may wish to shut power to that circuit immediately as well. Remove the existing waste (drain) pipe (or pipes, if you have a two-bowl sink) that links at the sink strainer, and the wall or floor threaded fitting (the stub out). If the piping is plastic and has compression or “threaded-type” fittings, save it for possible reuse. Toss the pipe if it is welded or made of metal. Fittings can be unscrewed by hand or with groove-joint pliers. Cut a welded pipe with a hacksaw.
Step Two: Remove the Sink Strainer
Remove the sink strainer—the fitting that holds the filter in place on the sink basin (one type is held with a large lock nut, a different kind with three screws)—screw in the flange that came with the garbage disposal to take its position. Prepare a lengthy piece of plumber’s putty to fit around the flange’s base. Once you’ve done so, add some putty under the flange’s lip before inserting it tightly into the drain hole so that it forms a seal with the sink bowl.
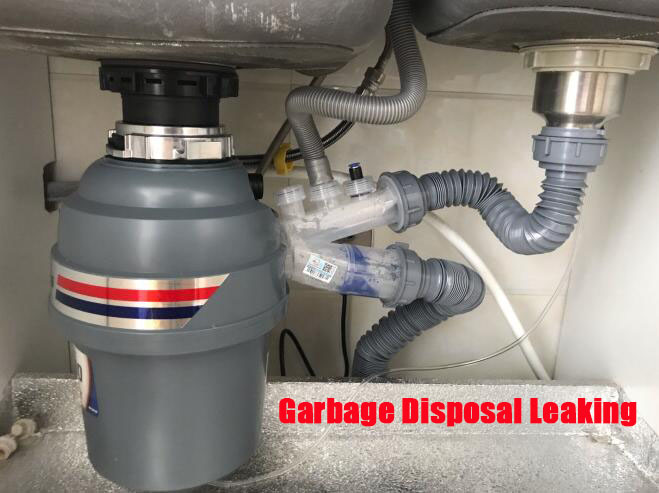
Step Three: Install Mounting Assembly
Our team of professional Napa plumbersinstructs you to install the mounting assembly gasket and the mounting and retention rings onto the flange and tighten the screws to secure the assembly. Install one screw at a time, gradually increasing the number of screws until the gasket and sink flange are both securely fastened to the sink bowl (see illustration). Using a rag or paper towels, wipe away any excess putty from the area surrounding the flange inside the sink.
Step Four: Install the Disposal
Install the disposal to the flange. Connect the drain elbow. If you have a dishwasher, follow the manufacturer’s directions for preparing the disposal drain. Slip the slotted flange of the disposal over the mounting bolts. As directed, connect the disposal’s discharge tube. For your Napa garbage disposal installation, you may need to connect its power cord to the unit itself. All wiring connections are usually easier to make at this point in the procedure before mounting the garbage disposal.
Step Five: Install the Garbage Disposal
The mounting ring, flange, and fiber gasket from the previous disposal are used to install a garbage disposal. These are the identical screws that were used to remove the old disposal from the sink cabinet. Two are on the top of the sink, and one is near the back of the sink, alongside the garbage disposal bottom plate. Check that the rubber gasket is properly positioned in the mounting ring before placing the screws. This will ensure a perfect drain fit.
Step Six: Connect to the Power
Connect the garbage disposal to a grounded 15- or 20-amp circuit, depending on the model. To use the unit, you’ll need to install or have an outlet installed under the sink. Please note that some versions may not come with a power cord. So you must attach it yourself. Follow the manufacturer’s directions for connecting electrical connections. Essentially, connect the cord’s white wires to the disposal’s white wires, the black wires to the disposal’s black wires, and the ground line to the disposal’s ground connection.
Step Seven: Power On And Test
To ensure that your Napagarbage disposal installationis operational, turn on the power button and cold water at the circuit breaker, and then fill the drain. You’re in good condition if your drain is clean and your p trap isn’t leaking.
After going through these guidelines, you may still want to consider contacting a skilled plumber. Our Gray Plumbingteam has experienced professionals who are licensed to handle any problem with your garbage disposal. We employ efficient ways to get your garbage disposal installed quickly and expertly. Call us immediately, and we will gladly answer any questions you have regarding pricing, scheduling, and warranties – anything!