If you’re reading this, your old garbage disposal probably has used its useful life. A classic garbage disposal unit lasts for roughly 12 years, so if you have one in your kitchen, you will almost surely need to replace it at some point.
Setting up new garbage disposal is simple if you have the proper tools and materials. Check to see if you have the correct type of disposal for your plumbing, then follow these steps to get your disposal up and running in no time.
Step 1: Safety First
Your safety should be your top priority. You should turn off your garbage disposal’s power. While installing the new unit and removing the old one, cover the switch with tape to prevent anyone from accidentally turning it on. Ensure no electricity goes to the appliance using your circuit tester while working.
Step 2: Get Rid Of The Old Disposal
Follow this sequence:
- Use a screwdriver to remove the access hole cover and disconnect the electrical cable from the old garbage disposal’s underside.
- Remove and unplug the wires from the access hole. Make sure to clear the metal cable that serves as the system’s ground. Remove the drainpipe’s bolt from the disposal’s side. To remove the two nuts, use your adjustable wrench.
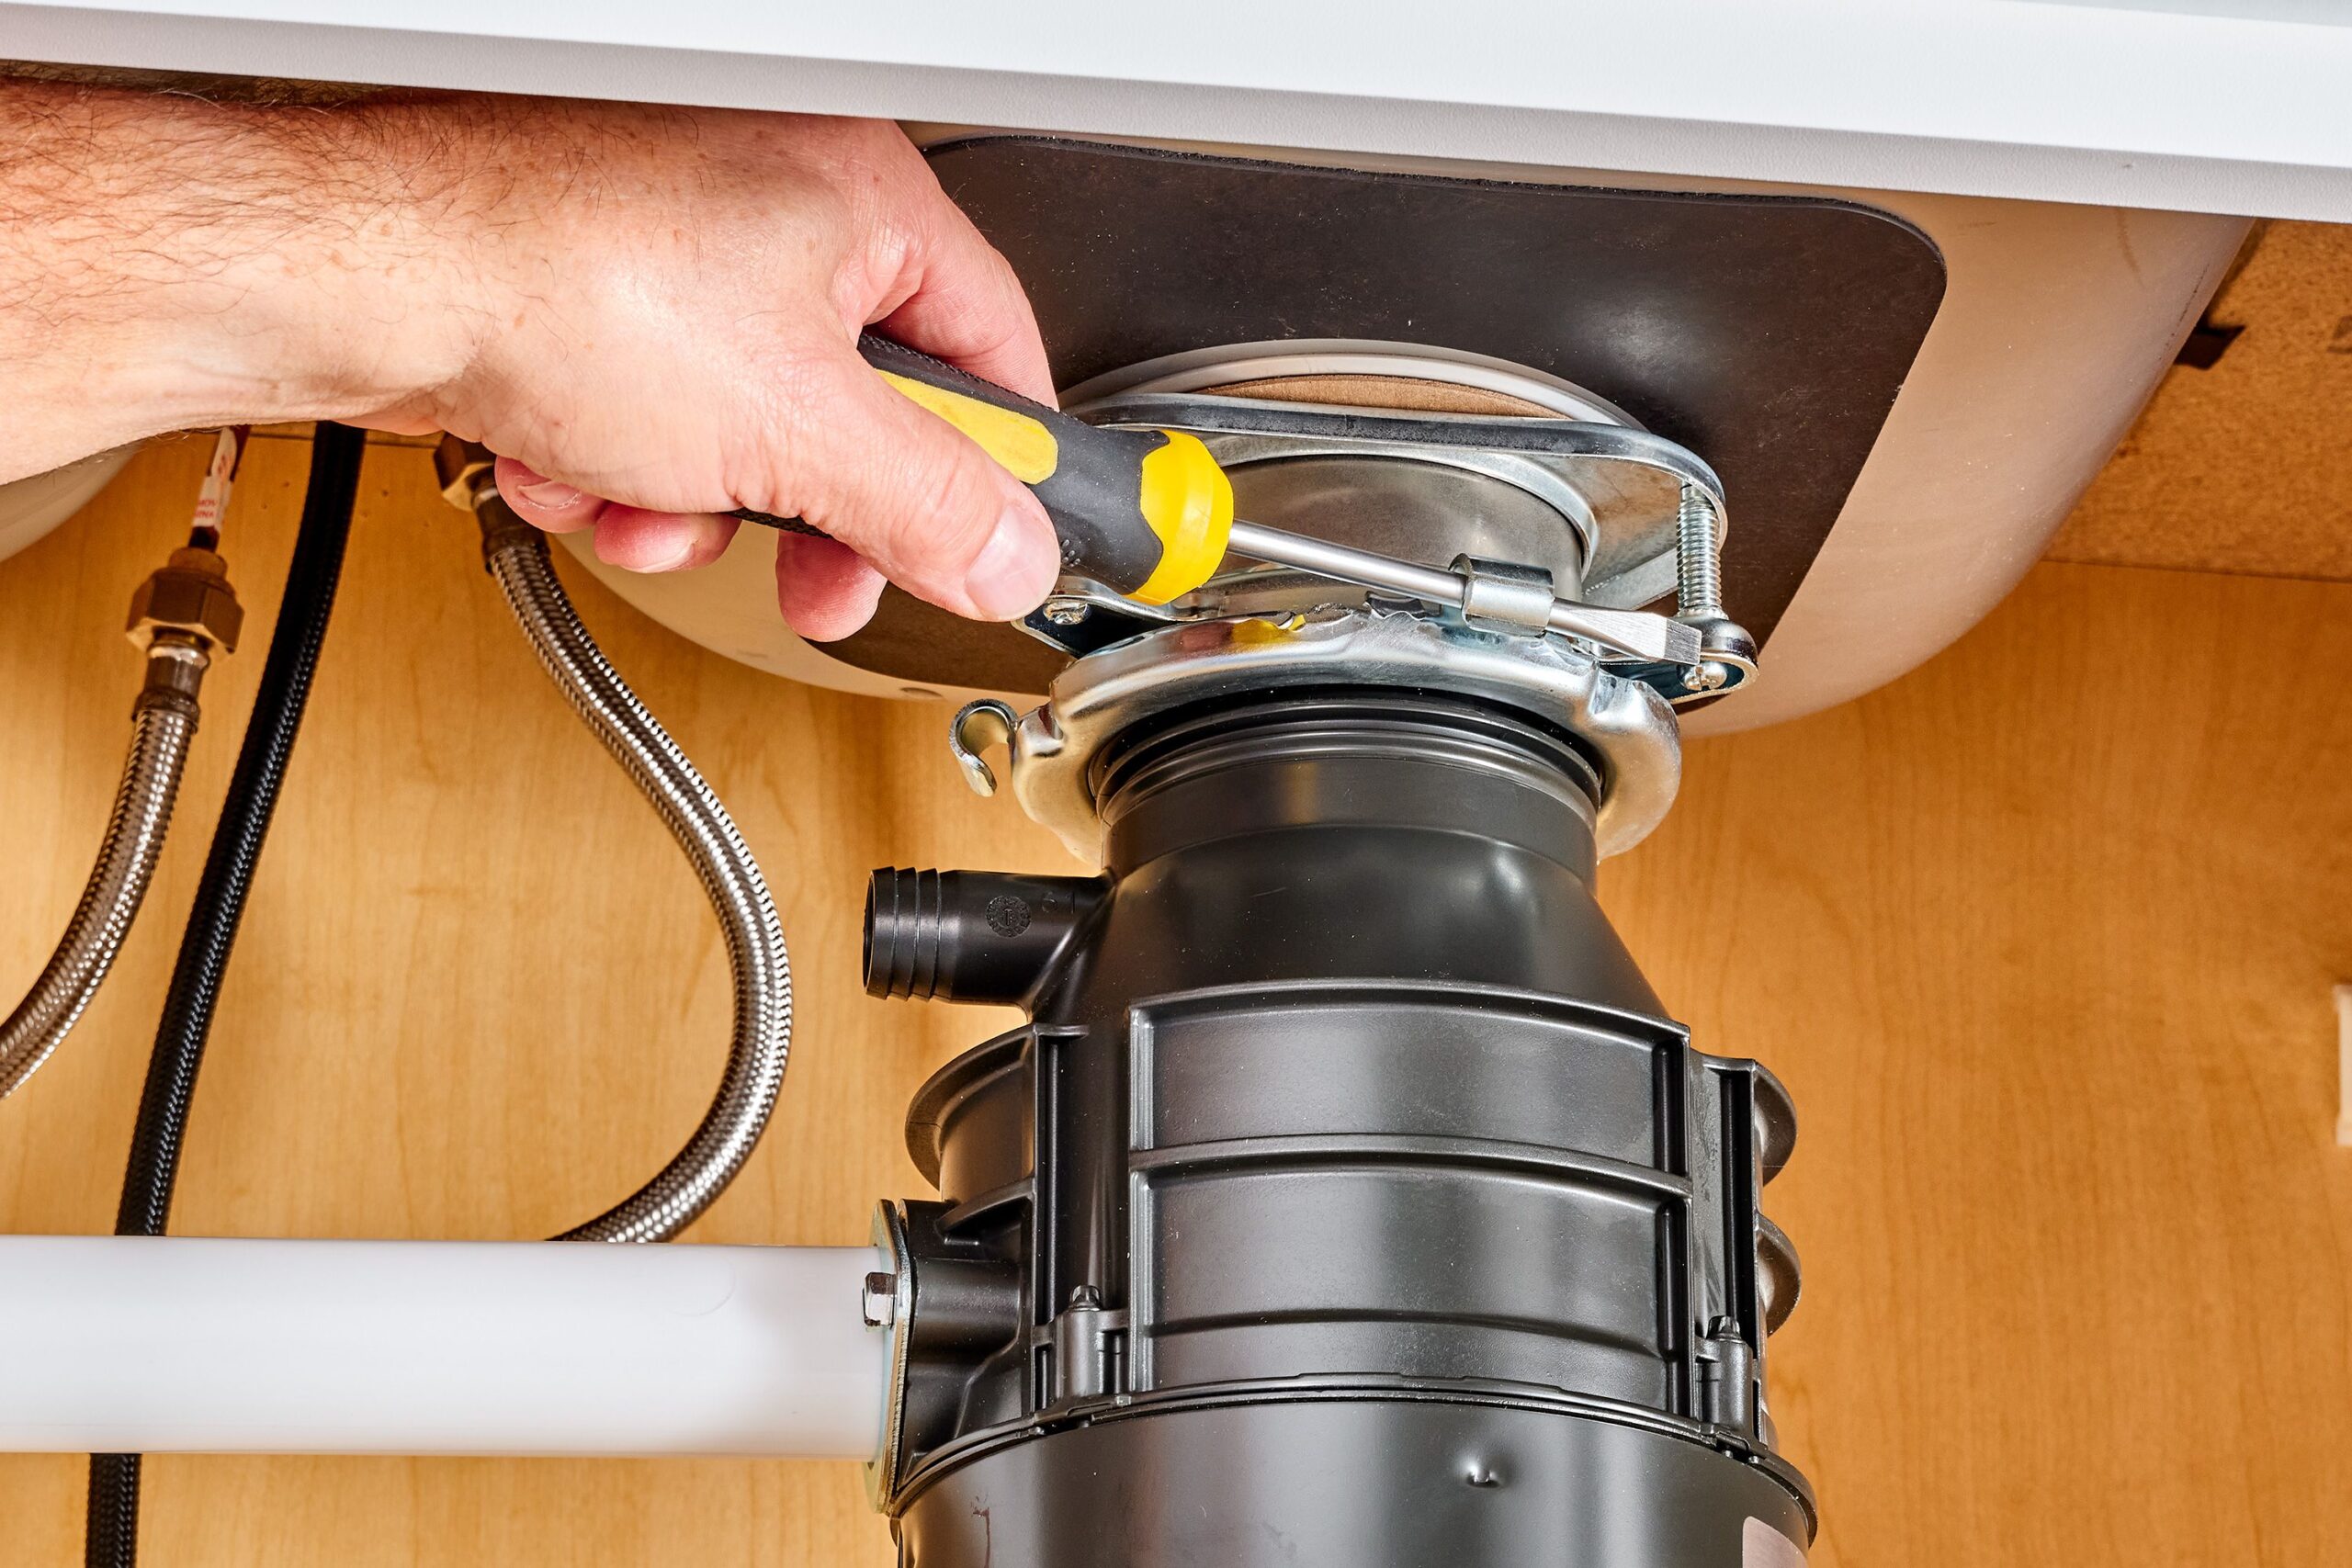
- To unlock the disposal, loosen the locking ring, insert a flathead screwdriver into the lower mounting ring and turn it about a quarter-turn counterclockwise. Maintain a tight grip as the disposal should now fall from where it was attached to the mounting assembly. Remove the mounting ring from the sink’s base entirely by unscrewing it. Push the sink flange up from the sink drain after removing the locking ring with a screwdriver.
- Remove any leftover putty from the plumbing. After that, generously spread the plumber’s putty around the flange to serve as a gasket. Replace the sink flange in the drain hole. Reattach the mounting ring, tighten the mounting screws with a screwdriver, and clean any excess putty from the top and bottom of the sink flange.
Step 3: Set Up Your Brand-New Garbage Disposal
Carry out the following instructions:
- Before installing the new garbage disposal, reconnect the electrical wires and ground wire. Next, open the access hole cover on your new appliance and grab the wires inside. By using twist-on wire connectors, join the two wires (one from the garbage disposal and the other from the wall). After that, join the coloured wires.
- Return the wires to the access hole and replace the cover once all the electrical connections have been made. Join the locking ring with the replacement disposal. Turn the lower mounting rings clockwise after inserting the mounting gasket into the mounting assembly until the mounting tabs feel secure and the removal feels stable.
- Attach the rubber gasket from your drain line to the disposal’s tailpiece, then turn on the power to test it.
At Gray Plumbing, we can install your garbage disposal if you think installing it yourself would be difficult. No mistakes, no surprises—we do it right the first time. Contact us for professional garbage disposal installation.


